How to Make Water Kefir with a Kefirko
After getting familiar and confident with making my own kombucha at home, I thought I’d branch out and try my hands on making water kefir. To be honest with you, I’ve never had water kefir before prior to this at all, but I’ve heard that it’s easier to make than kombucha and like kombucha, it’s also a fermented drink rich in probiotics. Instead of fermenting sweet tea which is what kombucha is all about, water kefir is about fermenting sweetened water which sounds very simple!
When my Kefirko Kefir Maker Kit arrived from Nourish Me Organics, I started reading in-depth about how to make water kefir. At first glance, water kefir is much quicker to make than kombucha. First fermentation for water kefir is only 1-2 days (cf kombucha which takes 1-2 weeks) and you simply use water instead of having to make up a batch of tea. Aside from those two differences, making water kefir seems to be much like making kombucha in that there is the first fermentation where the kefir grains consume the sugar, followed by a second fermentation where you can flavour your water kefir. Storing kefir grains is also really similar to storing kombucha, you simply place it in a kefir hotel (is that what they call it in kefir land?) in a mixture of sugar and water.
So, how do you make kefir? After reading a number of varying instructions, I took bits and pieces from each to create the version I was happiest with and this is what I did!
BEFORE YOU BEGIN..
If you are using water kefir grains that have been sent to you by mail (fresh or hydrated), or were previously stored in fridge and haven’t been used for fermenting for a while, you will need to activate your water kefir grains before making water kefir.
Activating water kefir grains is kind of like breaking them out of hibernation and exercising them again so that they ferment to their full potential. If you’ve received your grains in the mail it’s best to start fermenting as soon as you can.
HOW TO ACTIVATE WATER KEFIR GRAINS
YOU WILL NEED:
Your Kefirko
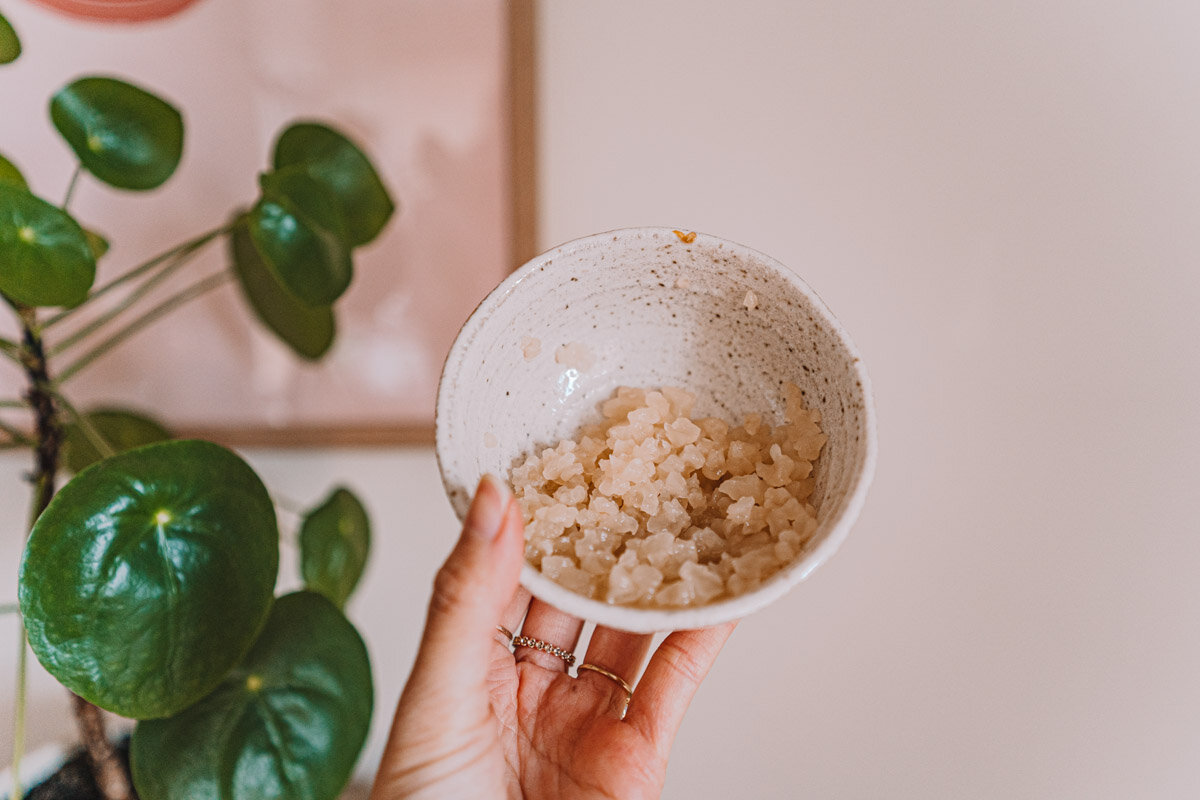
Water Kefir Grains
Nourish Me Organics Water Kefir Growth Pre-mix
A slice of lemon
Water
PS. If you want to keep things simple, this kit here contains everything you need!
HOW TO ACTIVATE:
These measurements are for my 848ml sized Kefirko
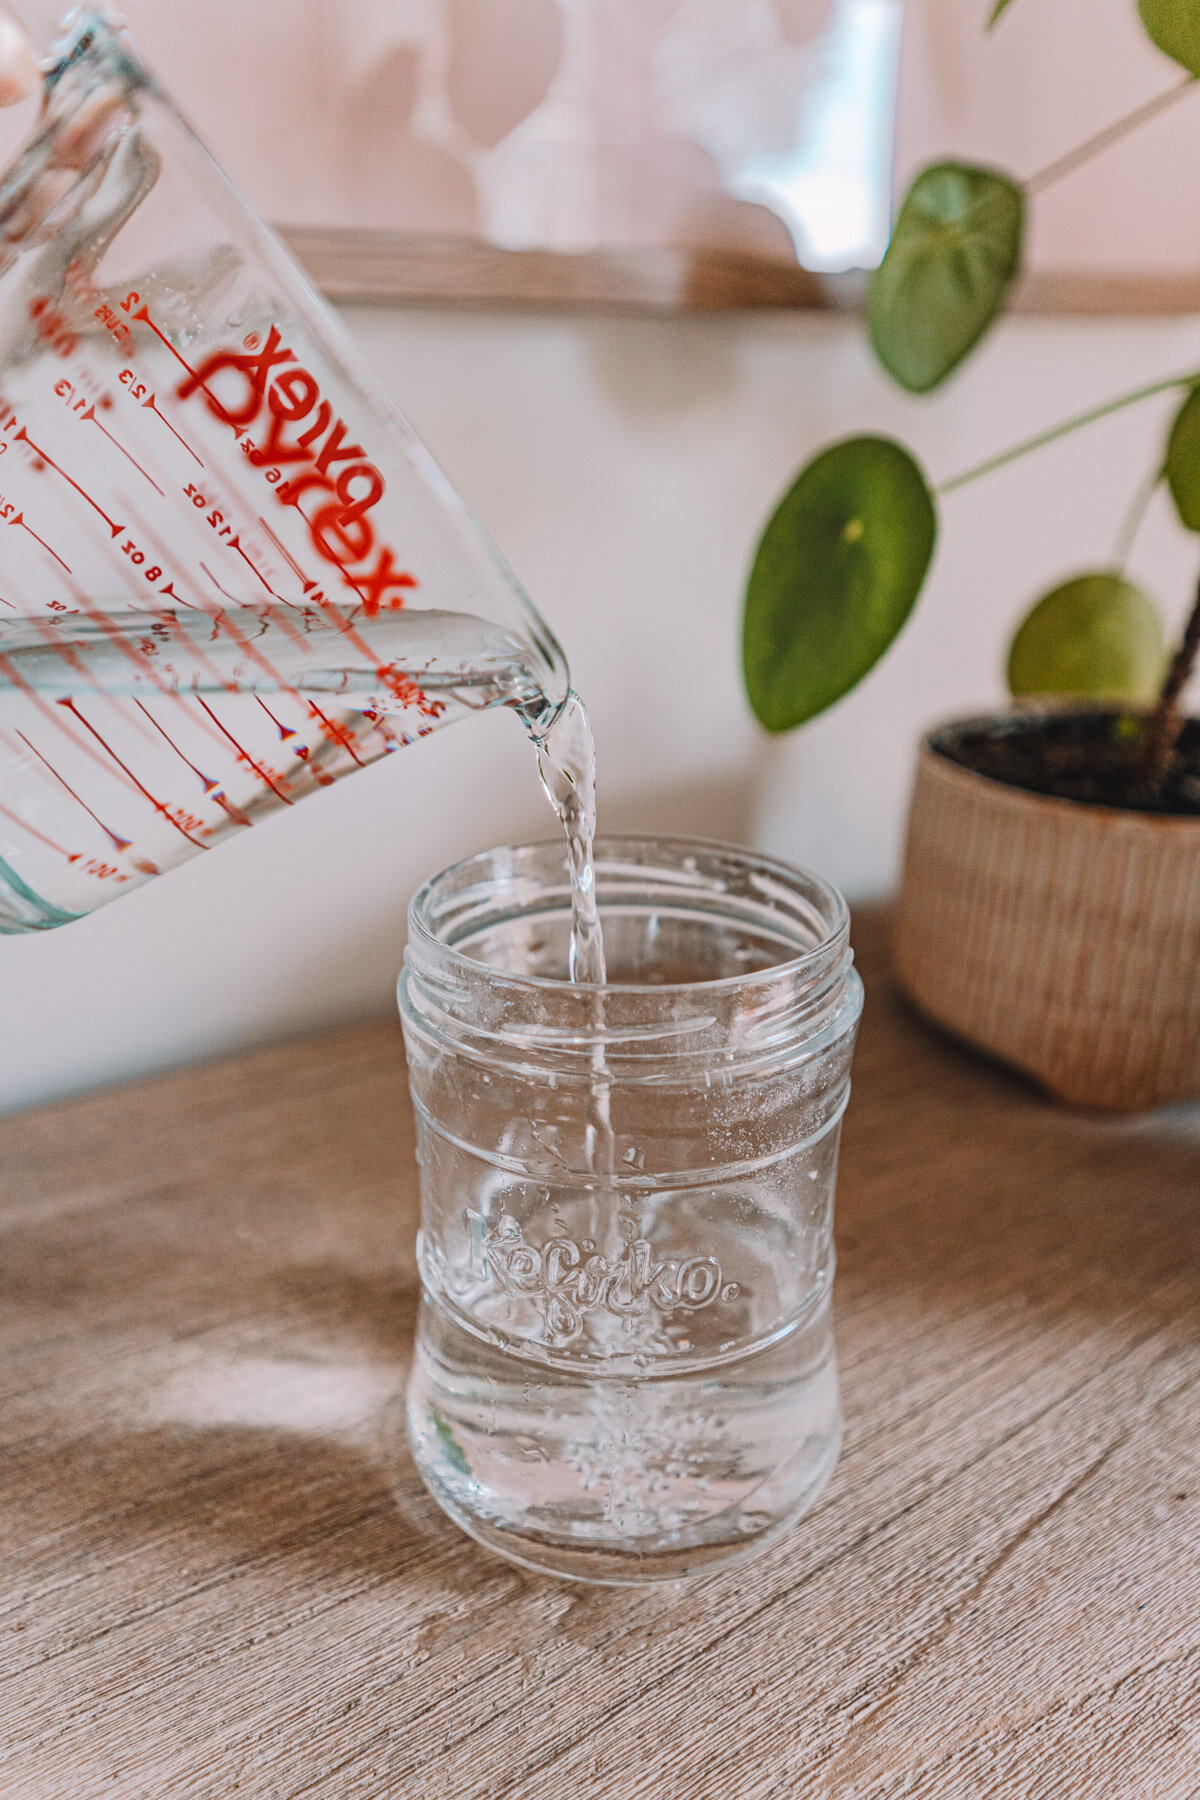
STEP 1: Add 500ml room temperature unfiltered, unchlorinated water. (a friend of mine in Melbourne uses tap water with no problems so I’m doing the same with fine results so far).
STEP 2: Add 2 tbsp of water kefir growth pre-mix (a handy pre-mix from Nourish Me Organics made for activating grains).
STEP 3: Stir until the premix has dissolved, then add 2 tbsp water kefir grains and a lemon slice (optional).
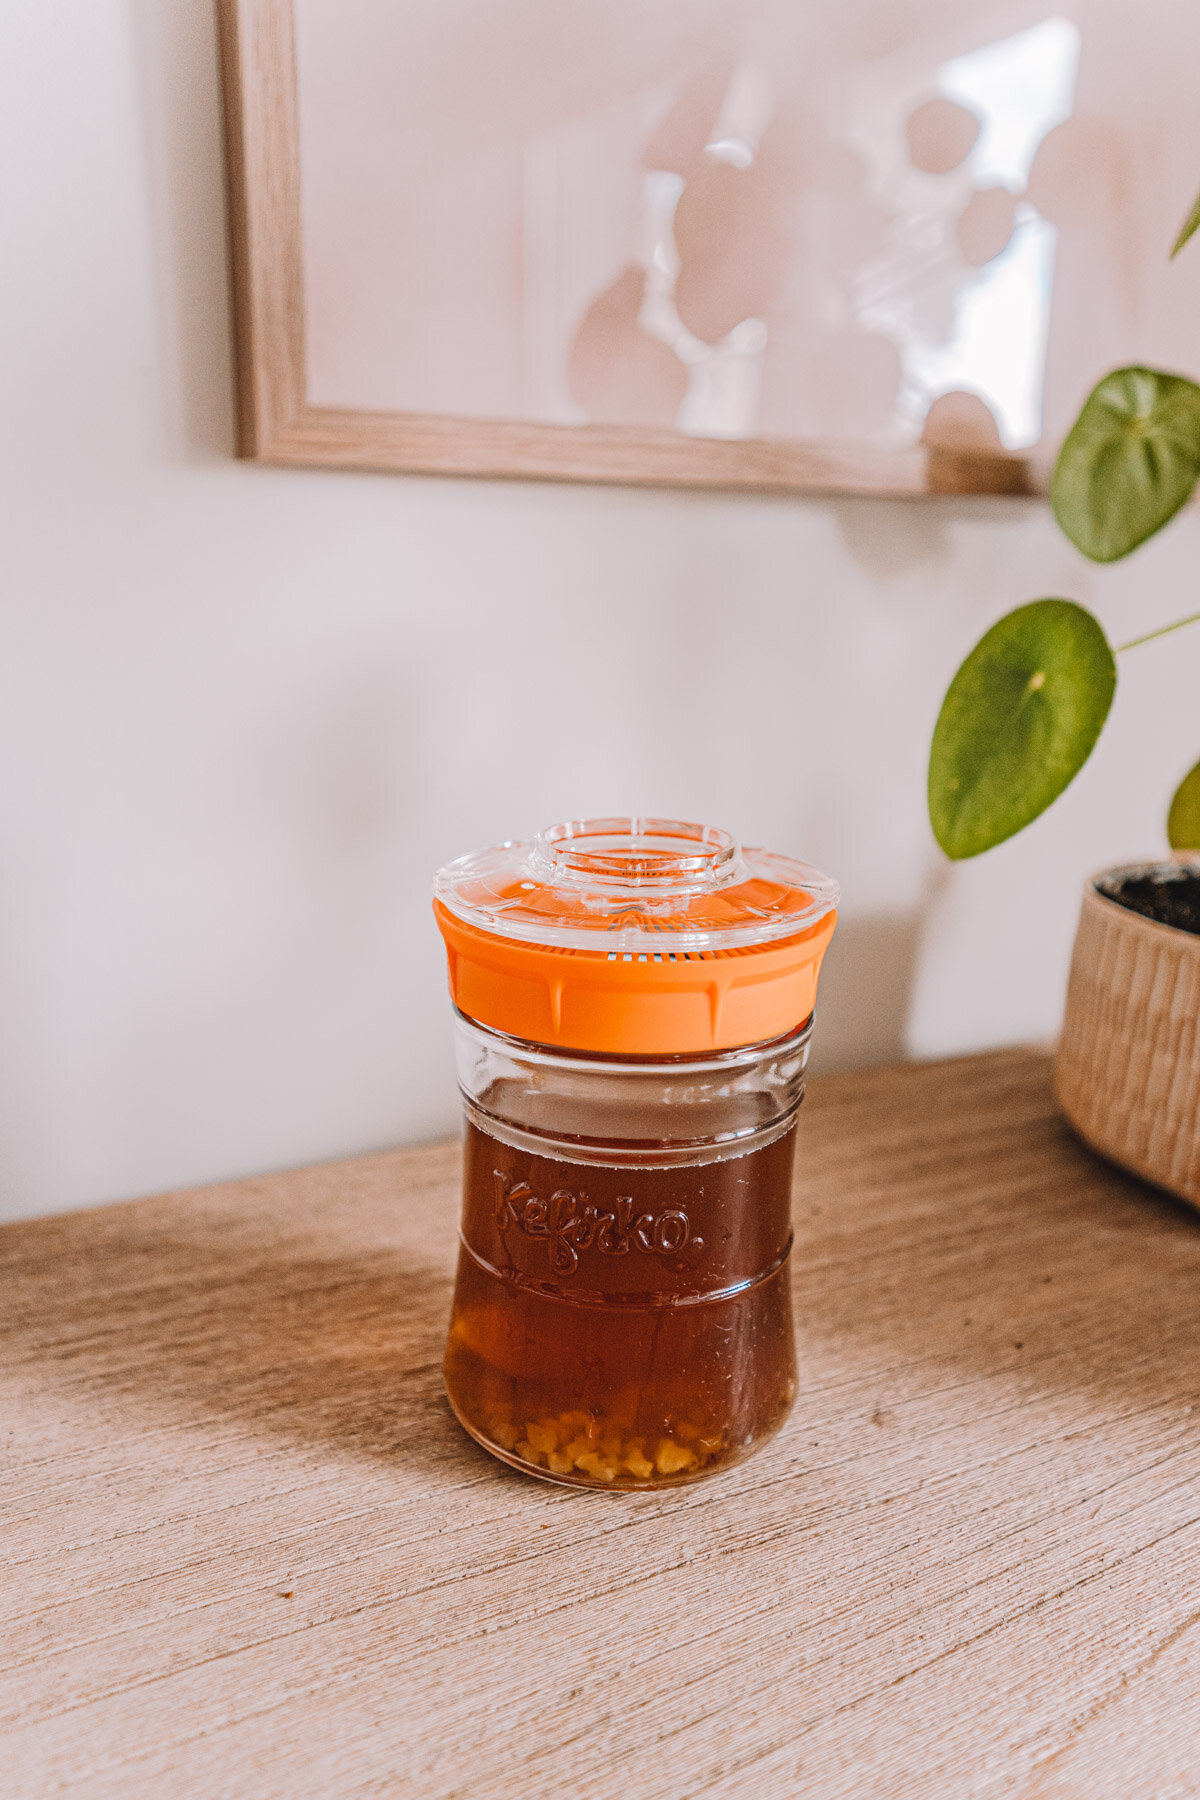
STEP 4: Place lid on the Kefirko and make sure it’s slightly open so air can circulate
STEP 5: Place Kefirko out of direct sunlight in a dark-ish place and allow it to ferment for 24-48 hours. Now and then, gently shake the jar when you walk past
STEP 6: After 24-48 hours, strain the grains through the built in Kefirko strainer (soooo handy!) and discard the water
STEP 7: Repeat the above process numerous times with the same grains, until you feel like your kefir grains are active. Depending on the weather and the state your grains came in, it can take a couple weeks to activate your grains to their full potential. Fully activated kefir grains have better probiotic qualities, however you can definitely start drinking your water kefir mid-way through the process if you wish.
HOW DO I KNOW WHEN MY GRAINS ARE ACTIVATED ENOUGH?
When you first start activating your kefir grains, the sugar water mixture you put in your Kefirko will still be quite sweet as the grains have not consumed all the sugar. The less sweet the mixture becomes, the more active your grains are!
If you smell your mixture, you will notice that it will start to smell more tart and less sweet the more active they become.
If you shake your jar gently and see little bubbles, your kefir grains have become active enough.
HOW TO MAKE WATER KEFIR WITH KEFIRKO (848ml)
Once your grains are active, you can start making water kefir!
YOU WILL NEED:
2 tbsp water kefir grains
500ml water (Kefir grains need non-chlorinated water because chlorine kills the microorganisms in the grains, however it does need minerals in the water as they are important for the growth of grains, so it’s best to use non-filtered water which is low in minerals. I’m currently using Australian tap water with no problems - I read that if the chlorine content of the tap water is low enough it should be no problems.
2 tbsp sugar (cane sugar, white sugar or brown sugar all work)
Kefirko kefir maker (858ml)
Small handful of berries
The ratio I’ve seen online that is commonly used is 1 tbsp water kefir grains + 1 tbsp sugar per 250ml (1 cup) of water, so that’s what I’m following!
First fermentation:
STEP 1: Add 500ml water and sugar into the Kefirko and mix to dissolve the sugar.
STEP 2: Add water kefir grains.
STEP 3: Screw the lid on and make sure you leave the vent open so it can breathe.
STEP 4: Place out of direct sunlight in a dark-ish place and allow it to ferment for 24-48 hours. Now and then, gently shake the jar when you walk past
STEP 5: Once fermentation is done, you can move to second fermentation (& reuse these grains for your next batch, following the first fermentation steps again).
NOTE: The longer you leave it to ferment, the more sugar the kefir grains consume and the less sweet it becomes.
Second fermentation:
STEP 1: Pour your water kefir liquid into a glass jar, leaving the kefir grains in the Kefirko (this is where the strainer built into the Kefirko becomes super handy!)
STEP 2: Flavour your water kefir with a small handful of berries (PS if you’re using juice, my research shows that you should go for a 1:10 ratio of fruit juice to water kefir if flavouring with juices, so 50ml juice to 500ml water kefir).
STEP 3: Cover with a lid and leave out of the sun again for another 24-48 hours for the secondary fermentation. This is the stage where your creating fizz in your water kefir. Make sure to burp the jar now and then to prevent carbonation build up.
STEP 4: Your water kefir is ready to serve!
THE RESULTS:
Water kefir tastes like a mild fizzy watery lemonade. It’s flavour profile definitely tastes a bit more subtle, compared to kombucha which tastes more stronger in flavour. I like it! So far, I’ve been flavouring my water kefir with frozen mixed berries and raspberries because that’s super accessible for us, however I’m also keen to try things like orange, grape, apple & ginger in the future.
I found the Kefirko makes it so much more convenient to make kefir in that you have a built in strainer and also measuring cup. Of course you can just use a regular jar (as I do with kombucha) but having the Kefirko definitely made things quicker.
TIPS & TRICKS!
If you want to take a break from brewing water kefir for a period of time, you can keep the grains refrigerated in the fridge for up to 2 months. To store your grains, keep it in airtight jar with brewed kefir water or water + 1-2 tbsp of sugar. Leave the lid slightly open to enable air flow. However, when you take it out to use again, you’ll need to activate the grains again over a few batches until they return to their original strength.
Kefir grains multiply over time so you can share with friends!
I read online it’s best to avoid too much contact with metal when making water kefir, so opt for glass, plastic or wooden utensils where possible.
Happy water kefir making everyone, I’m very much thrilled to be adding this new skill to my list of things to make at home.


