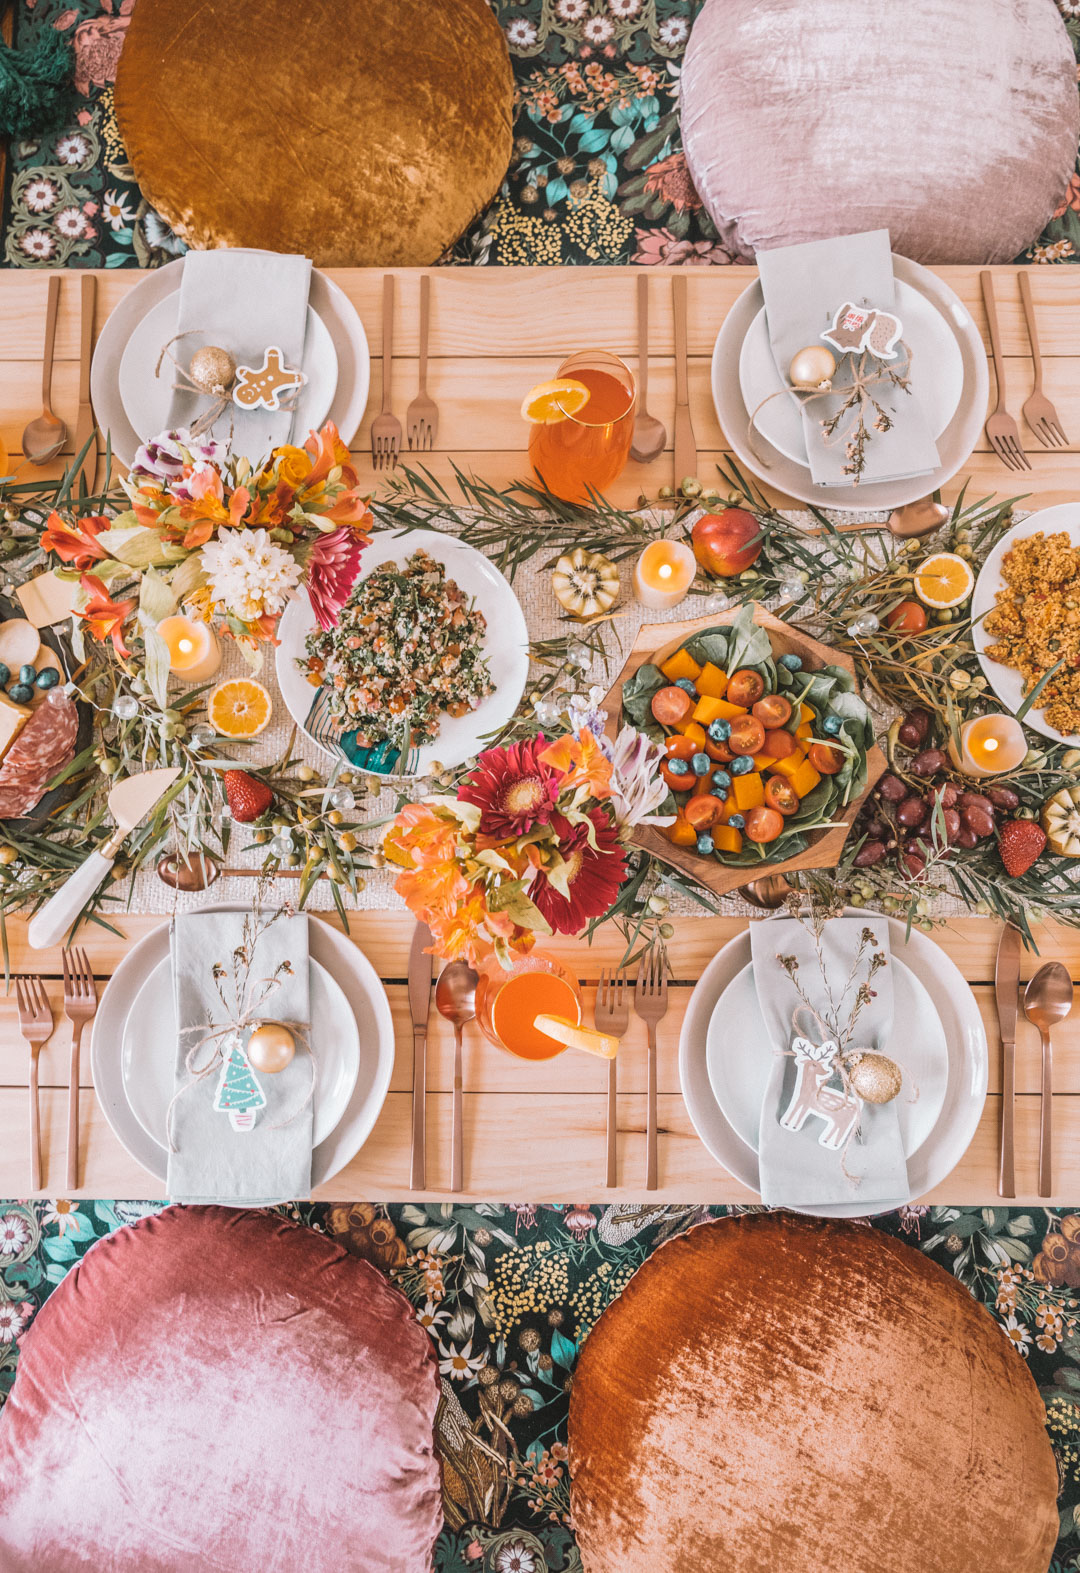
DIY Tutorial - How to build a boho pallet picnic table!
 I'm excited to share today a tutorial on how I created my own pallet style picnic tables! I've always wanted some picnic tables like this and spent months scouring the neighbhourhood and net for old pallets. I wanted them with the timber beams close together so that there weren't too many big gaps but I never found them and most of the pallets I did find were too dirty for indoor use / and I was also a bit concerned about what they had touched or been treated with, as I wanted to use them as tables. So! After a bit of planning and a long time standing in my local Bunnings' aisles, I finally found a way to make my own without wasting too much scrap wood and without needing to own too many tools (and taking maximum advantage of the cut shop at Bunnings).
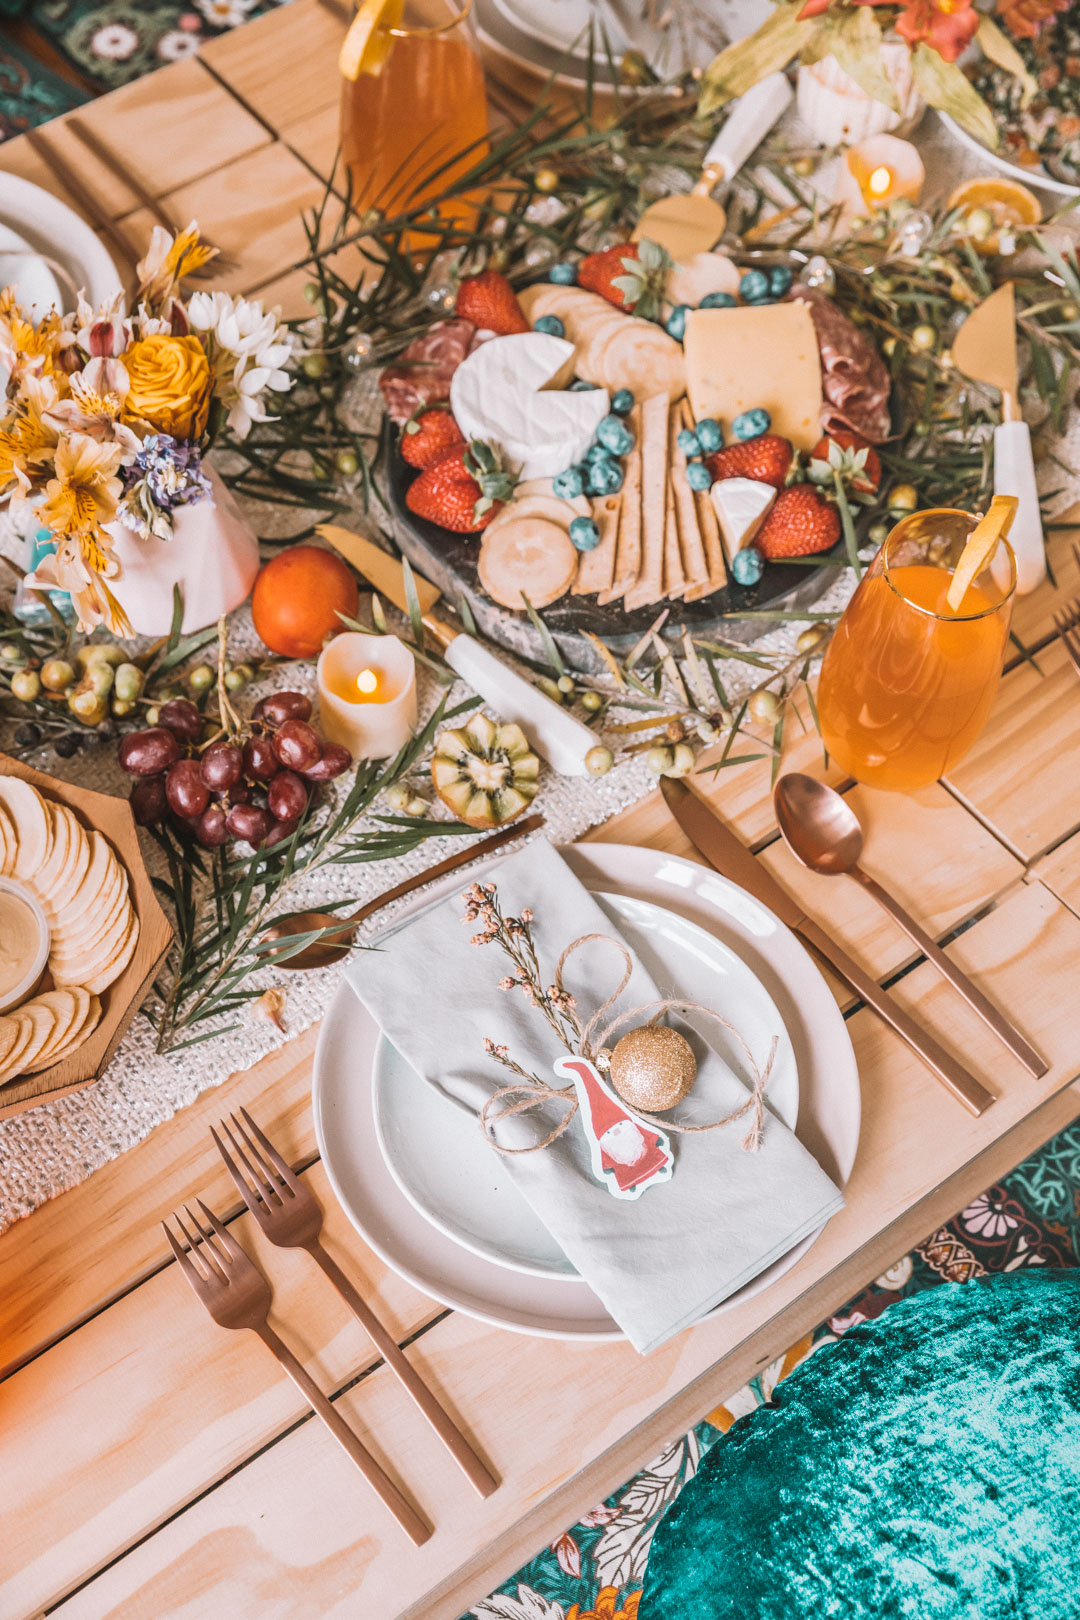 For the pallet picnic tables I created, you can fit 4-6 people on one, or 10 people on two put together, depending on whether you want to seat people on the ends of the table or not. However, you can use this tutorial and adjust the sizes to create any size tables!
What you will need:
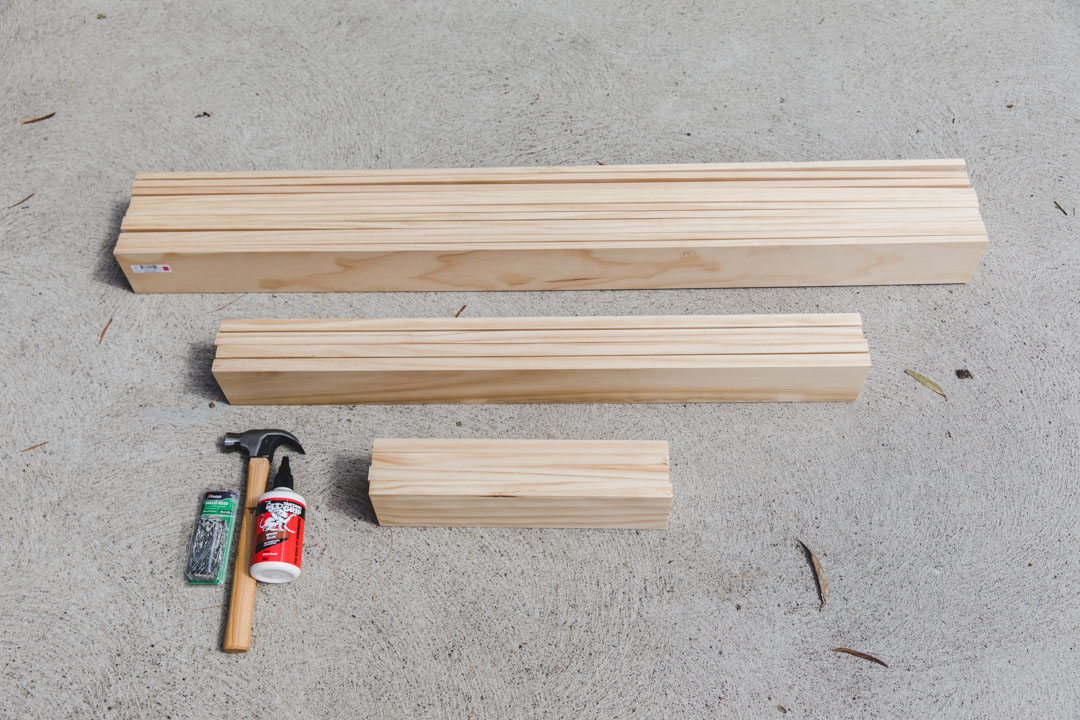
- 11 pieces of 89 x 19 x 1200mm timber pieces
- 3 pieces of 90 x 12 x 1200mm timber pieces, cut into 840mm length (ask the cut shop to do this for you)
- wood glue
- 25mm nails
- Hammer
- Long ruler / measuring thing (not pictured)
- Measuring square (not picture and not used, but definitely recommend having and using)
Total materials cost: about $70-80Total time required: about 30-45 mins maxI did all my shopping at Bunnings and adjusted my measurements to fit the timber options I had available - so if you plan on shopping at Bunnings, the measurements I used will make your project super straight forward.
Step 1
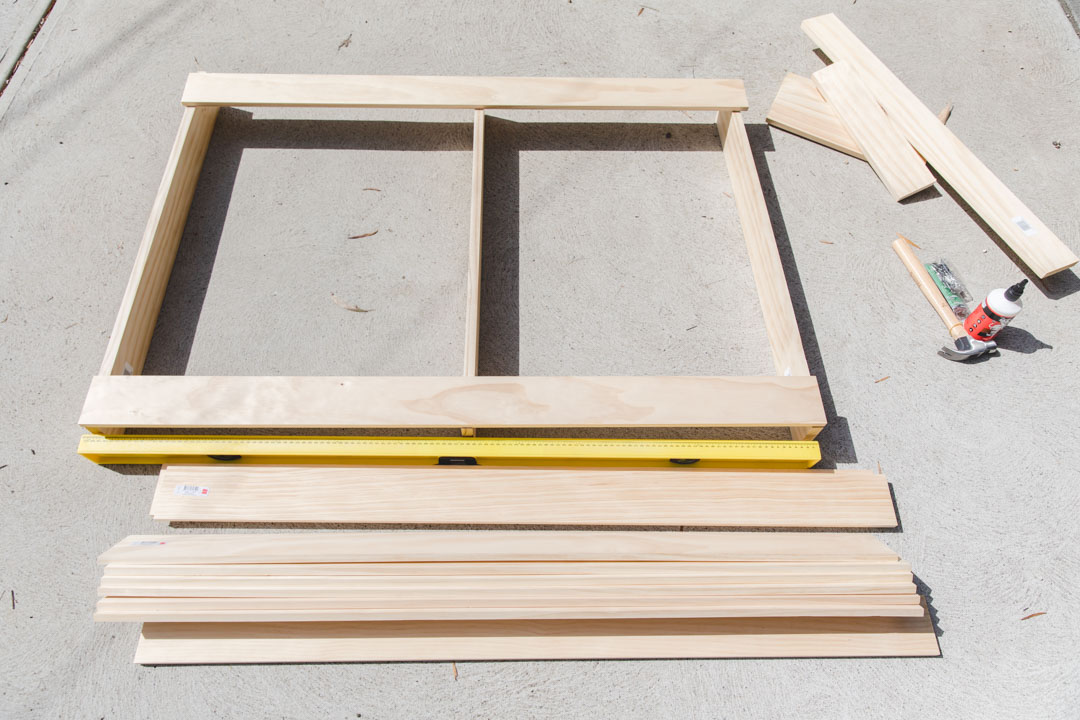
On a flat surface, lay out your three shorter timber beams like so, with the middle beam placed evenly in distance between the other two beams (here a square would have been useful for me but I forgot to buy one, again).
Step 2
 Once you're happy with the placement of the supporting beams, place wood glue on each end of the beam and carefully stick on the timber planks on each side. Rearrange carefully to make sure you have 90 degree corners and all.
Step 3

Once you're happy with the positioning, put in two nails on each connecting point to secure the glue.
Step 4

Now that the end planks are in place, it's time to arrange the middle planks. Take 7 planks and carefully arrange them on the board first, with approxiamtely 3-5 mm space between each plank. Once you've got it even enough, you can one by one, remove each plank and start gluing these on.
Step 5

After you glue each plank, fix them with two nails on each end of each timber plank. Your table top is done!
Step 6
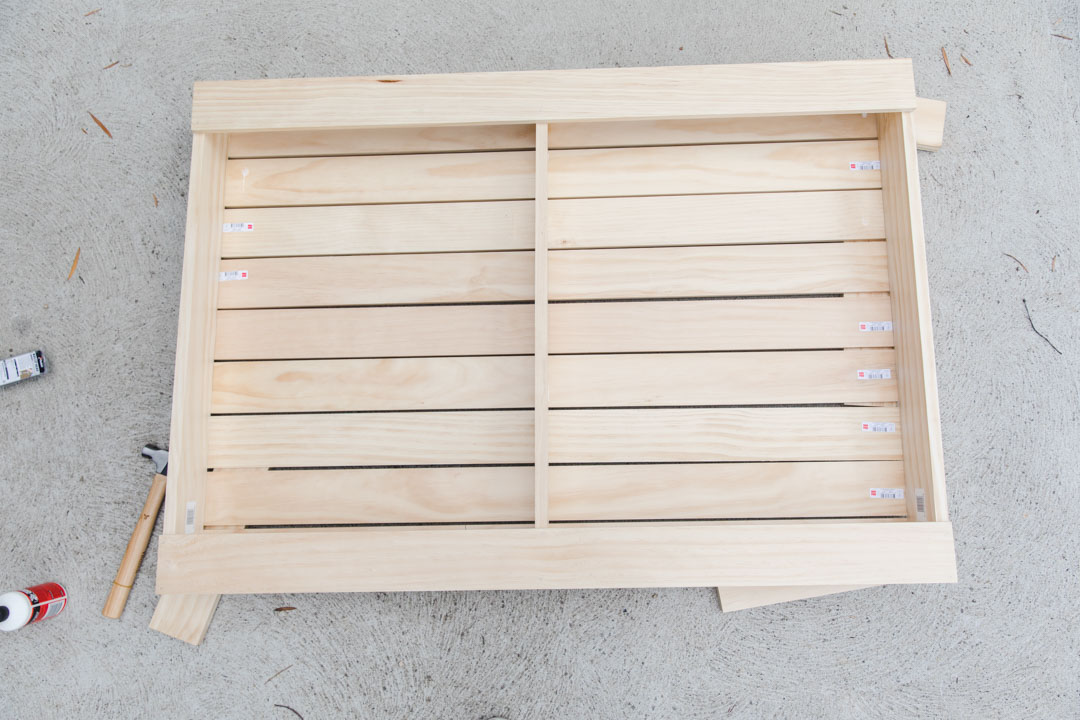
Carefully flip your pallet table around and on each end, glue and nail in the remaining two pieces of timber.

And you're done! An easy pallet picnic table made all by yourself! Leave to let the glue dry before using.Here are some pictures of our pallet table in action..Hope you enjoyed this fun little DIY!


